
Power Platform ALM with Azure DevOps

If you already have some experience using Azure DevOps for CI/CD, you can easily setup a pipeline to manage power platform deployments.
In addition, with Power Platform build tools, you can do this with almost no script using the Azure DevOps Classic UI, even though you have the options of doing same in YAML.
Microsoft Power Platform Build Tools are a collection of Power Platform specific Azure DevOps build tasks that eliminate the need to manually download custom tooling and scripts to manage the application lifecycle of apps built on Microsoft Power Platform.
You can get the pipeline up and running in minutes:
Download Microsoft Power Platform Build Tools:
Microsoft Power Platform Build Tools can be installed into your Azure DevOps organization from Azure Marketplace
After installation, all tasks included in the Microsoft Power Platform Build Tools will be available to add into any new or existing pipeline.
You can find them by searching for "Power Platform". We will make use of this later in this tutorial.

Setup Service Connections to your environments.
Navigate to Project Settings → Service Connections
Click on New and Select Power Platform as Connection Type:

On the next page, fill in the details of your Application Registration as you have created it in Azure. This user must have been granted roles via an Application User in Dataverse. Here is how to do it: Tutorial: Setup Azure App Registration

Repeat this process for your other environments.

Create the Build Pipeline:
Navigate to your Pipelines and create a new pipeline.
From: https://dev.azure.com/ → Projects →Pipelines → New
Select the “Use the classic editor” option.

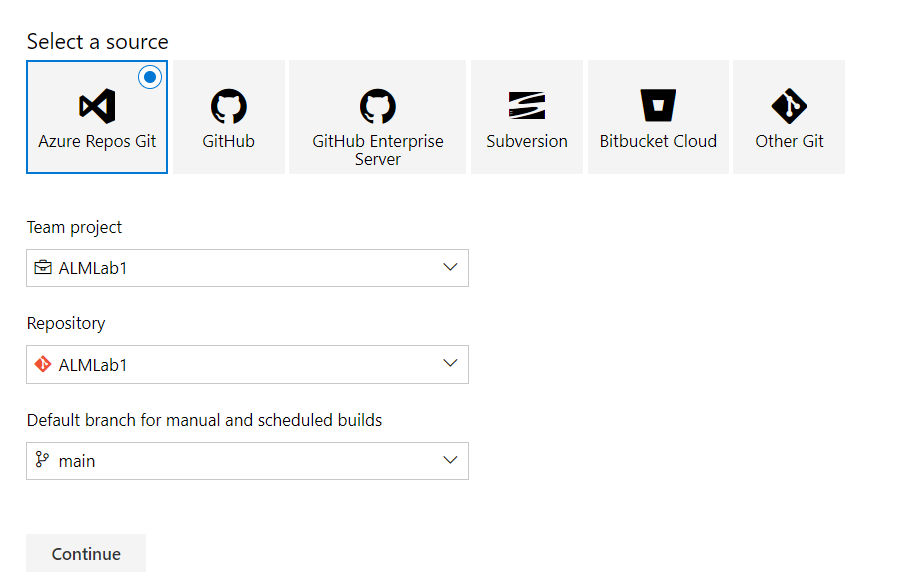
Click on Continue
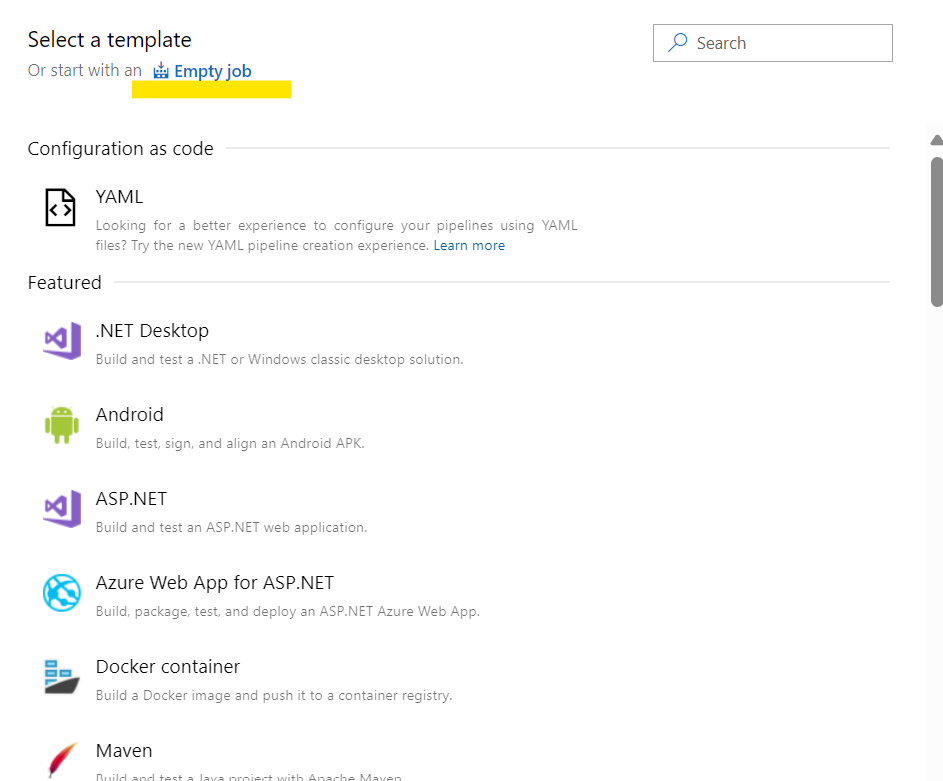
Start with an Empty Job.
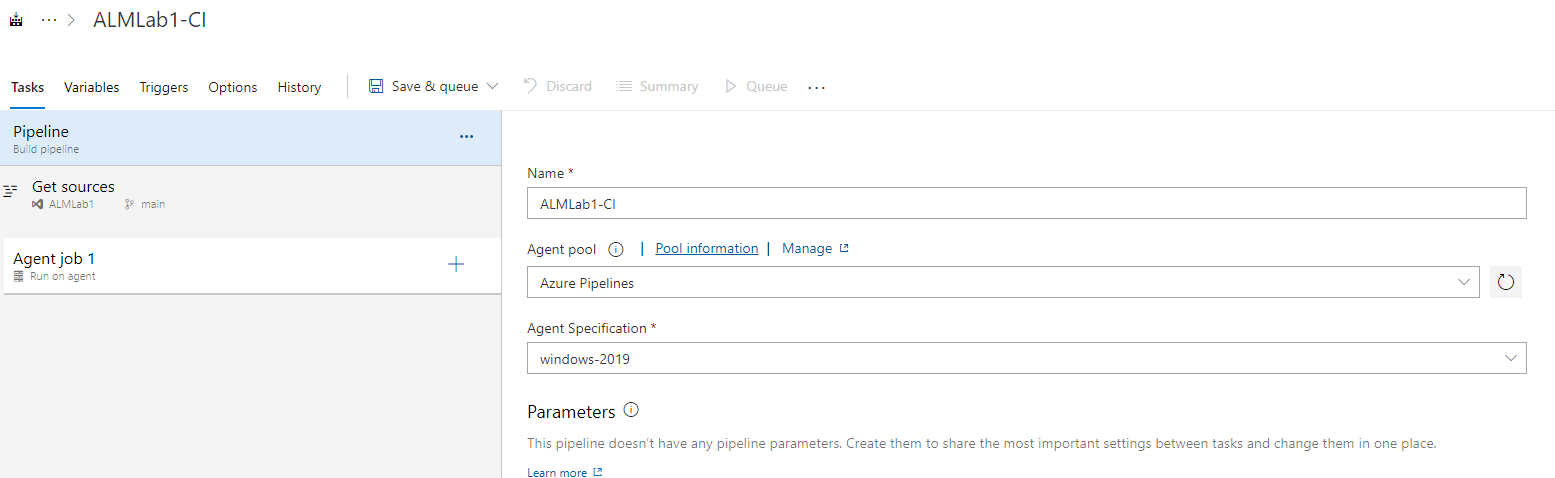
Now you have your new empty pipeline:
- Add the variables: We will need some pipeline variables which we are going to reference in the various tasks that we will be adding. We need one to store the solution name as we have it in Dataverse (the schema name) and another variable to store our git access token. Navigate to the variables tab and create them as shown below:

Add the following tasks:
- Task 1: Power Platform Tool Installer

- Task 2: Power Platform WhoAmI (We will select one of the service connections we created earlier)

- Task 3: Power Platform Export Solution (In this task, you can choose to export the solution as Managed which is the ideal in a real live scenario)

- Task 4: Power Platform Unpack Solution

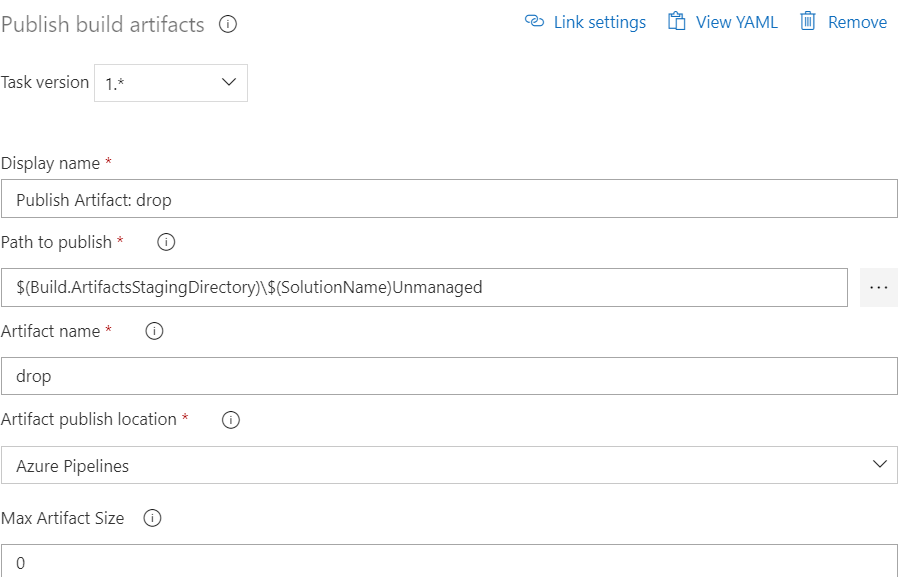
- Task 5: Publish Build Artifacts
- Task 6: Command Line Task to commit and push the changes to the repository

Save the Pipeline.
Run the Pipeline.

If you got errors from the command line task relating to git, you can fix that by specifying your access token in this way before pushing to the repo:
“git -c http.extraheader="AUTHORIZATION: bearer $(System.AccessToken)" push origin main”
If everything is fine, this is how your repository should look like:

The exported solution can then be imported into another environment using another pipeline in form of a release.
The task list will look like this:
- Task 1: Power Platform Tool Installer (Same as previous pipeline)
- Task 2: Power Platform WhoAmI (In this case, we are using the Prod service connection)

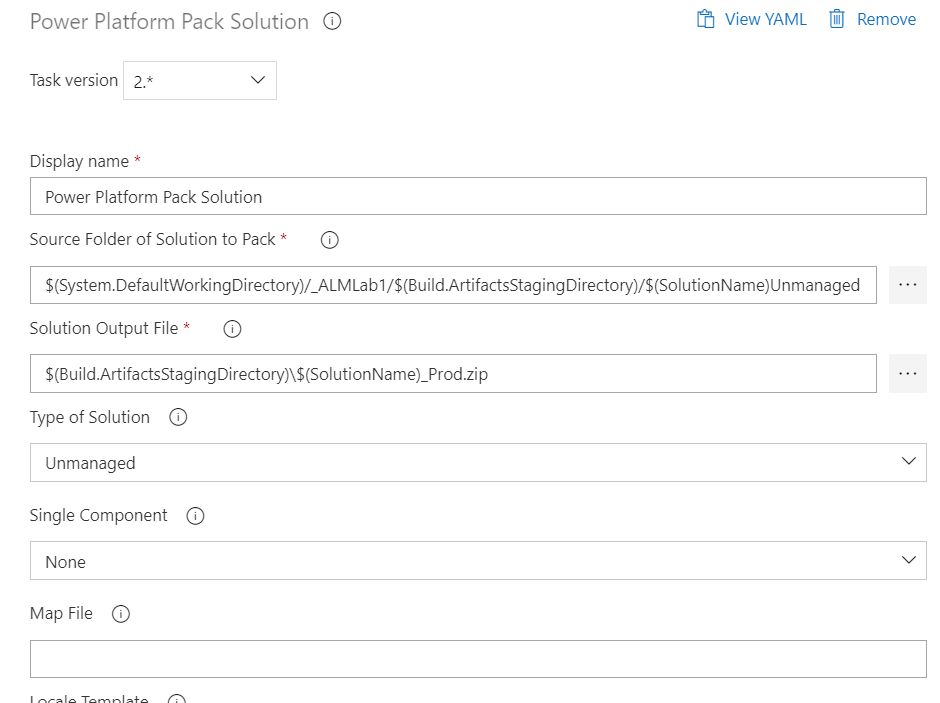
- Task 3: Power Platform Pack Solution ( Source Folder = Target folder in previous pipeline)
- Task 4: Power Platform Import Solution (Input file = Output file from previous task)

- Task 5: Power Platform Publish Customizations

Final Release Pipeline looks like this:

That’s all about setting up an end-end pipeline for power platform solutions. Don’t forget you can also do all of this in YAML but the focus today is using the Azure DevOps Classic editor.