
Tutorial: Azure Blob Storage client library for .NET
Using .NET C# with Azure Blob Storage

Microsoft Azure blob storage is a multipurpose storage solution. They are optimized for storing unstructured data like text or binary data.
A good use case is an enterprise application that uses Blob Storage to store application logs, which are later processed for troubleshooting, monitoring, and analytics. With this architecture, you have storage capacity for logs and ability to integrate with monitoring tools like Azure Monitor and Azure Log Analytics.
Another is for file storage when building using Low-Code as it easily integrates with other Microsoft solutions such as Power Automate, Azure Logic Apps & Azure Functions. You can send files uploaded from Power Pages to the Blob Storage, and retrieve them using Power Automate.
The developer capabilities is also great. They can be assessed over the internet via HTTP/HTTPS and there are client libraries in multiple languages: .NET, Java, Node, Python & Go to interact with them.
Blob storage is similar to a file system with hierarchical system which also forms the URL of the object as described below:
-The storage account: This is the base for blobs.
-A container which resides in the storage account.
-A blob is the smallest unit of this storage and it is found in a container.
Today, we take a look at how to use the .NET library to perform CRUD operations on blog storage.
But before then let's take a look at some essentials to consider when working with BLOB storage:
Since the top most level of blobs are Storage Accounts, you must create storage accounts in Azure to use blob storage.
There are multiple types of storage accounts that can be created:
- General-purpose v2 → Standard storage account type for blobs, file shares, queues, and tables. Recommended for most scenarios using Azure Storage.
- Block blob → Premium storage account type for block blobs and append blobs. Recommended for scenarios with high transaction rates or that use smaller objects or require consistently low storage latency.
- Page blob → Premium storage account type for page blobs only
Then followed by Container: A container organizes a set of blobs, similar to a directory in a file system. It must be a valid DNS name because it forms part of the URL of the BLOB itself. A typical container url looks like this: https://myaccount.blob.core.windows.net/mycontainer.
Finally we have the BLOBs and there are also of three types:
Block blobs → Store text and binary data. Block blobs are made up of blocks of data that can be managed individually. Block blobs can store up to about 190.7 TiB.
Append blobs → They are made up of blocks like block blobs, but are optimized for append operations. Append blobs are ideal for scenarios such as logging data from virtual machines.
Page blobs → Page blobs store virtual hard drive (VHD) files and serve as disks for Azure virtual machines.
The BLOB URLs looks like this: https://mystorageaccount.blob.core.windows.net/mycontainer/myblob.
Naming rules for BLOBs:
Follow these rules when naming a blob:
A blob name can contain any combination of characters.
A blob name must be at least one character long and cannot be more than 1,024 characters long, for blobs in Azure Storage.
Blob names are case-sensitive.
Reserved URL characters must be properly escaped.
There are limitations on the number of path segments comprising a blob name. A path segment is the string between consecutive delimiter characters (for example, a forward slash /) that corresponds to the directory or virtual directory. The following path segment limitations apply to blob names:
If the storage account does not have hierarchical namespace enabled, the number of path segments comprising the blob name cannot exceed 254.
If the storage account has hierarchical namespace enabled, the number of path segments comprising the blob name cannot exceed 63 (including path segments for container name and account host name).
Now that we have covered and understood the concept of storage accounts and BLOBs, it is time to see how to interact with the BLOBs using code.
We will use the .NET client library to authenticate, create a container, upload a BLOB to the container, list the BLOB in a container and finally download a BLOB.
Using .NET C# to Perform Operations on Azure Blob
Prerequisites:
Azure subscription.
Azure storage account.
Latest .NET SDK for your operating system.
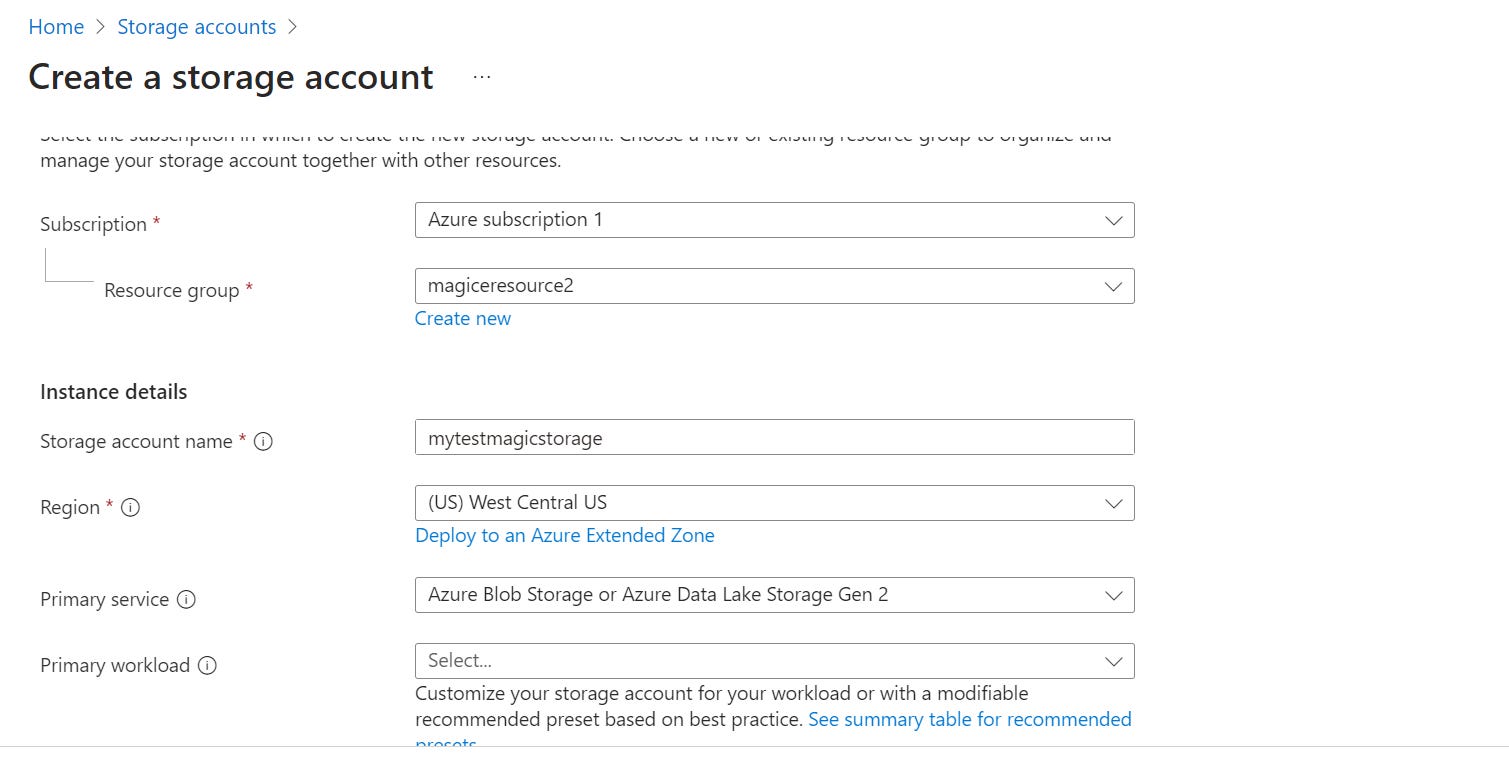
Create a Azure Storage Account:
Navigate to Azure Portal → Storage Accounts → New
Create the project in visual studio; create console project.

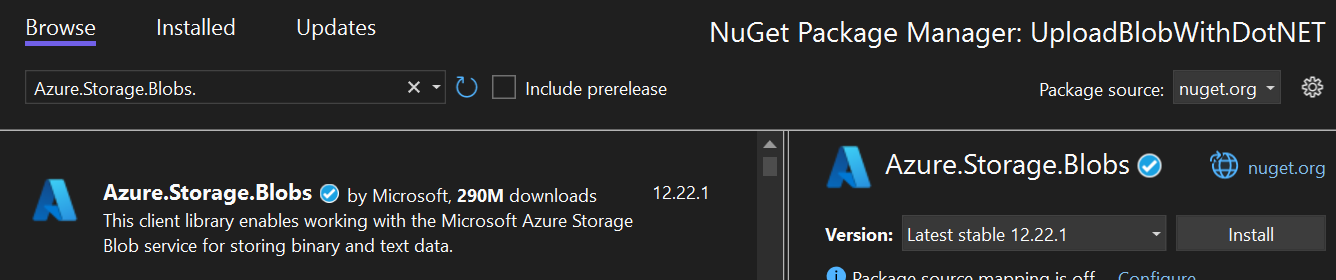
Install the package: Azure.Storage.Blobs
Authenticate to Azure and authorize access to Blob data
Application requests to Azure Blob Storage must be authorized. There are two options:
Connection String: A connection string includes the storage account access key and uses it to authorize requests.
Passwordless: DefaultAzureCredential class provided by the Azure Identity client library is the recommended approach for implementing passwordless connections to Azure services in your code, including Blob Storage.
With this approach, you don’t have to specify a credential or key or implement any environment-specific code. DefaultAzureCredential supports multiple authentication methods and determines which method should be used at runtime. For example, your app can authenticate using your Visual Studio sign-in credentials with when developing locally. Your app can then use a managed identity once it has been deployed to Azure. No code changes are required for this transition.
We will use the DefaultAzureCredential in this tutorial. When developing locally, make sure that the user account that is accessing blob data has the correct permissions. You'll need Storage Blob Data Contributor to read and write blob data. In some case, you also need the Storage Queue Data Contributor role.
Add Role Assignments to user
On the storage account overview page, select Access control (IAM) from the left-hand menu.
On the Access control (IAM) page, select the Role assignments tab.
Select + Add from the top menu and then Add role assignment from the resulting drop-down menu.
Use the search box to filter the results to the desired role. For example, search for Storage Blob Data Contributor and select the matching result and then choose Next.
Under Assign access to, select User, group, or service principal, and then choose + Select members.
In the dialog, search for your Microsoft Entra username (usually your user@domain email address) and then choose Select at the bottom of the dialog.
Select Review + assign to go to the final page, and then Review + assign again to complete the process:

Sign in on your Visual Studios with the account that has access to the storage account. This will be used for your local development.
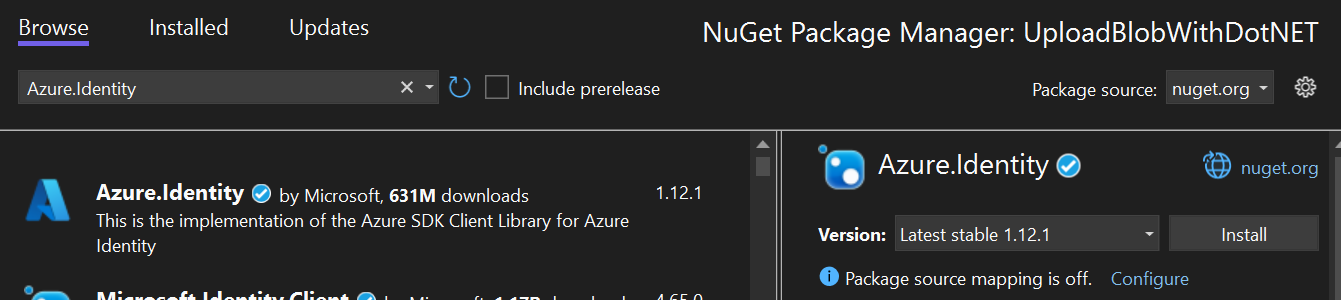
To reference DefaultAzureCredential in code. Add the Azure.Identity package to your application.
App Code: The following code sample performs the following operation:
Create a container
Upload a blob to a container
List blobs in a container
Download a blob
using Azure.Storage.Blobs;
using Azure.Storage.Blobs.Models;
using Azure.Identity;

// TODO: Replace <mytestmagicstorage> with your actual storage account name
var blobServiceClient = new BlobServiceClient(
        new Uri("https://mytestmagicstorage.blob.core.windows.net"),
        new DefaultAzureCredential());

//Create a unique name for the container
string containerName = "testmagiccontainer" + Guid.NewGuid().ToString();

// Create the container and return a container client object
BlobContainerClient containerClient = await blobServiceClient.CreateBlobContainerAsync(containerName);

// Create a local file in the ./data/ directory for uploading and downloading
string localPath = "data";
Directory.CreateDirectory(localPath);
string fileName = "testmagicfile" + Guid.NewGuid().ToString() + ".txt";
string localFilePath = Path.Combine(localPath, fileName);

// Write text to the file
await File.WriteAllTextAsync(localFilePath, "Hello, World!");

// Get a reference to a blob
BlobClient blobClient = containerClient.GetBlobClient(fileName);

Console.WriteLine("Uploading to Blob storage as blob:\n\t {0}\n", blobClient.Uri);

// Upload data from the local file
await blobClient.UploadAsync(localFilePath, true);

Console.WriteLine("Listing blobs...");

// List all blobs in the container
await foreach (BlobItem blobItem in containerClient.GetBlobsAsync())
{
    Console.WriteLine("\t" + blobItem.Name);
}

// Download the blob to a local file
// Append the string "DOWNLOADED" before the .txt extension
// so you can compare the files in the data directory
string downloadFilePath = localFilePath.Replace(".txt", "DOWNLOADED.txt");

Console.WriteLine("\nDownloading blob to\n\t{0}\n", downloadFilePath);
That is all. Run the program!
Here is what command line looks like, after running:

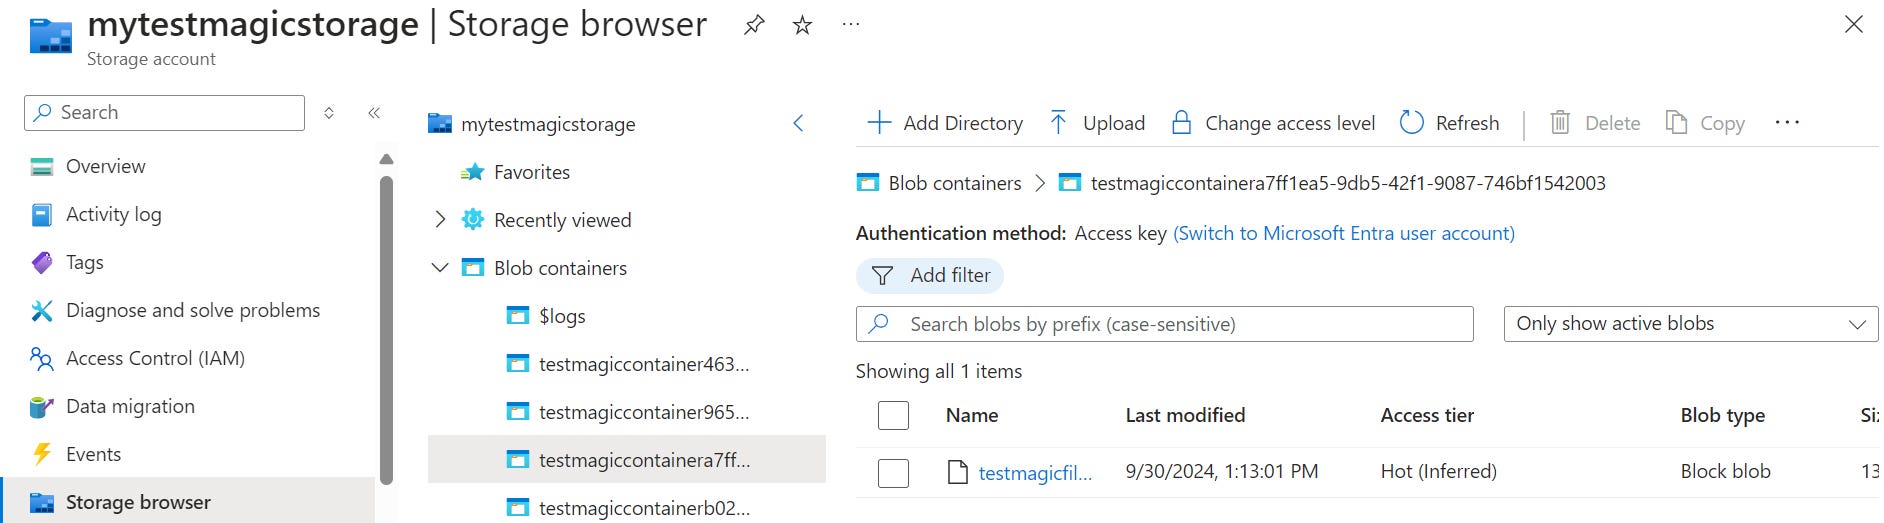
To see the container & uploaded blobs, Navigate to Storage account → Storage browser → Blob containers
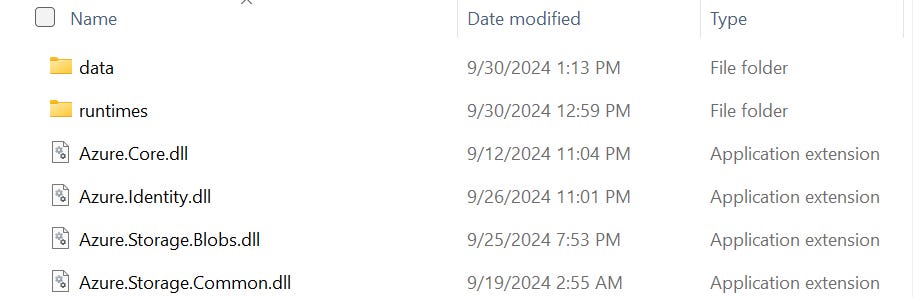
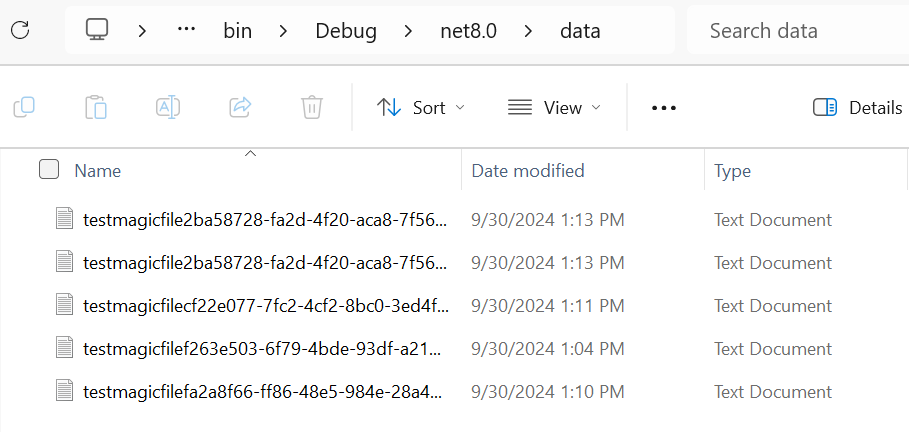
To see the downloaded file: Navigate to your local machine/server directory. In my case I find it in my project directory as shown below:
Remember to clean up your resources after completing these steps.
Further reading and references:
https://learn.microsoft.com/en-us/azure/storage/common/storage-samples-dotnet?toc=%2Fazure%2Fstorage%2Fblobs%2Ftoc.json
Interesting read! Quick question - can this also be used as an SFTP location accross different applications e.g. Business Central (SaaS) and a third party on-premises application?