
Capturing Device Requests with Copilot Studio Adaptive Cards

After showing users what devices are available, the next step is letting them actually request one.
Instead of sending them to a form or another system, everything stays inside the conversation.
In this step, an Adaptive Card in Copilot Studio captures the user’s selection and input, turning a simple chat into a structured request that can be processed automatically.
I decided not to repeat the full tutorial here, since it’s already well covered in the Copilot Agent Academy documentation. In the previous post, I focused on the device lookup (Available Devices topic) because I adapted it to use Dataverse instead of SharePoint, which is what the official guide uses.
If you want to continue from the last step, here is the direct link to create the Request Device topic in Copilot Studio which is the next: Add adaptive cards and enhance topic capabilities
The topic is triggered and the Adaptive Card appears only if the user answers “yes” to the question from the Available Devices topic: “Would you like to request one of these laptops?” (The one we did in the previous blog post).
This is the final output from my environment, and it’s what you should see as well once the lab is completed.

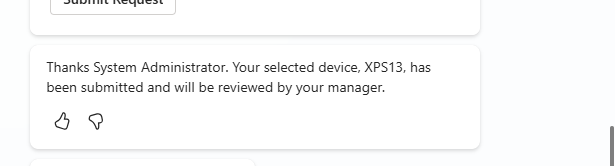
And once the user clicks “Submit Request” button, they should get a message in the chat like this one:
If you have questions or want me to walk through this in a session, happy to discuss.
That’s all for today. See you in the next one, where we’ll look at sending an approval email to the manager for the device request using an agent flow.